Spiders Spiders Everywhere AHHHHHHH
Need Some Scary Spiders for your Spider Web? I thought so too! Here is a look at how I made Spiders (like the one pictured here) and Victims to scare the unsuspecting ghouls! Please be prepared this process takes lots of drying time! |
|
|
Start With a Body
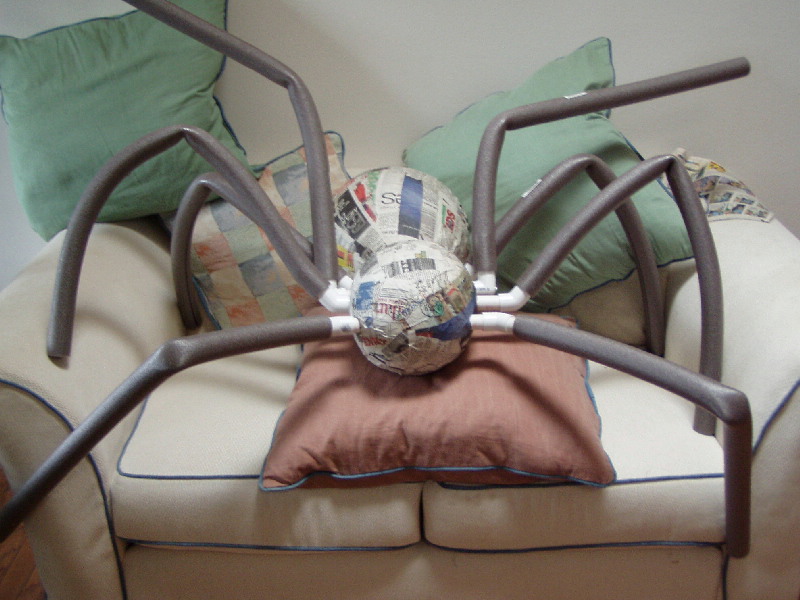
In order to make my spiders I decided to use paper mashie. I first blew up balloons to the desired size for both the body and the head.
I then prepared the paper mashie by boiling water and flour together, letting the mixture cool. Using 1" strips of newspaper, I soaked the newspaper in the mixture and coated the balloon. (Make sure that you leave a space around the bottom of the balloon to allow your hand into the balloon.)
After the first layer dried I continued this three more times. By the fourth layer there were no more weak spots.
Using PVC as connectors I made holes in each side of the paper mashie for the legs to attach to the body. I used foam pipe for the legs, it was easy to use and flexible. |
|
|
|
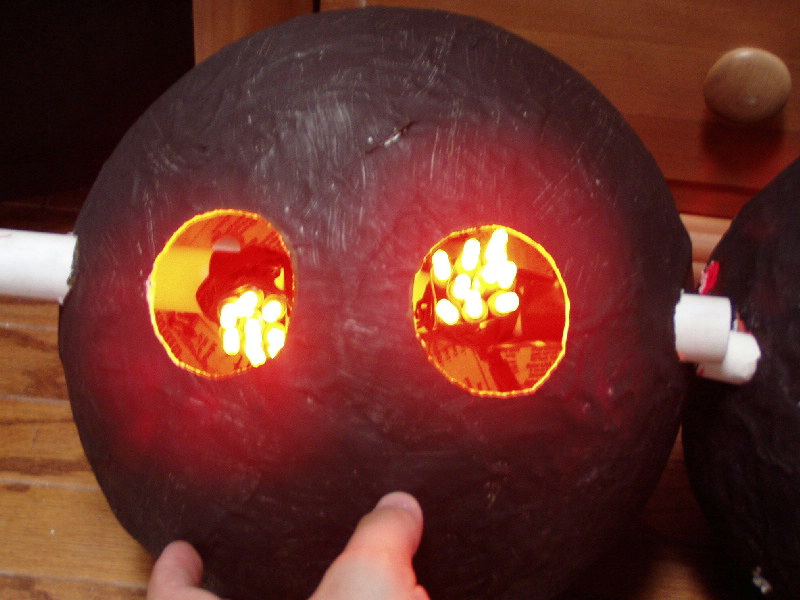
The Spider must SEE
After attaching legs I needed to make eyes. For these I used simple 50 light purple indoor/outdoor lights. I grouped these in sets of 25 and positioned them behind the eye sockets.
Now it's time for some artistic fun. I wanted Black Widow Spiders, so using black tempra paint I coated all the balloons. (OK, so I coated them about 3 times for an even coat, but it was still fun!) :o) |
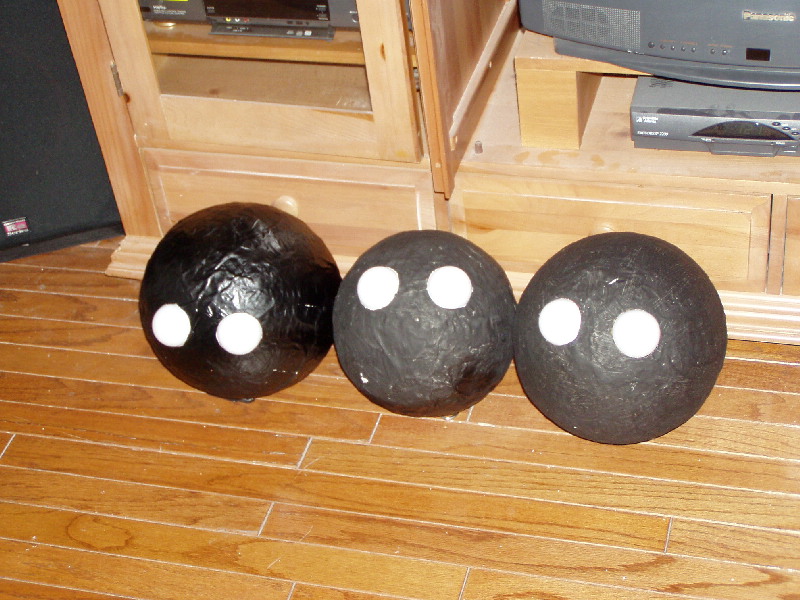
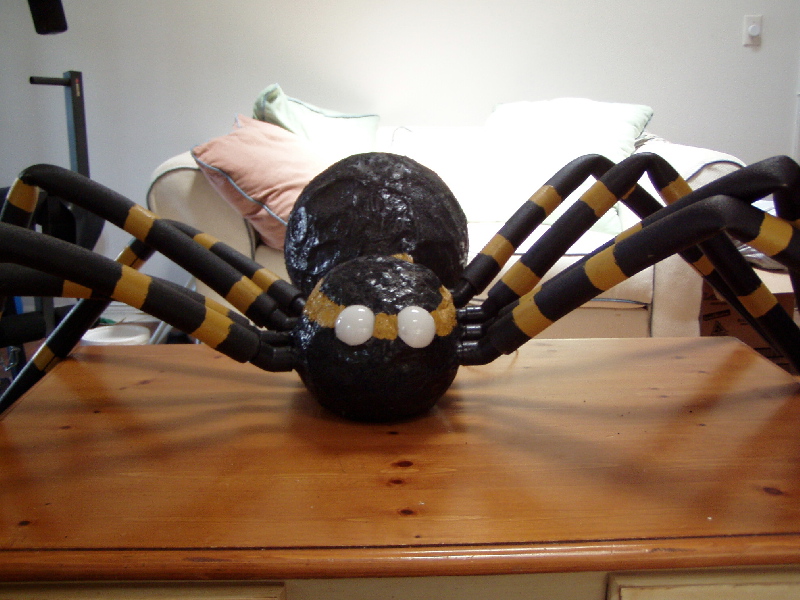
Eyes for All
Once the lights are in place you need to cover the eyes. For this I used a plastic semi-transparent ball cut in half. The halves were put in place and then glued from the inside. The cord ran out where the two halves connect, which allowed the eyes to be lit up. |
|
|
|
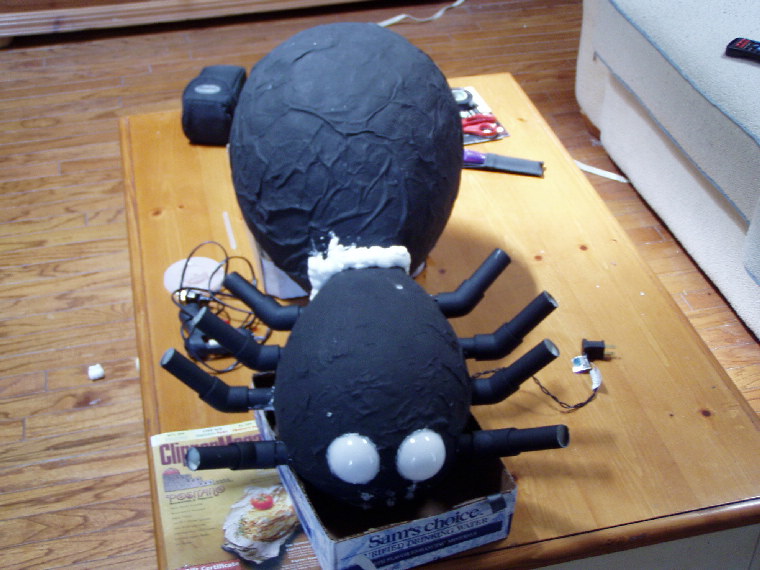
Putting the Two Halves Together
Once You have gotten the legs and the eyes in place, as well as the first coat of paint, I found it easiest to use spray foam to connect the two pieces.
At this point I once again made a batch of paper mashie and coated the foam as well as the joints around the legs and eyes. This helped to make the sealing process easier. |
Moving About is Easier With Legs
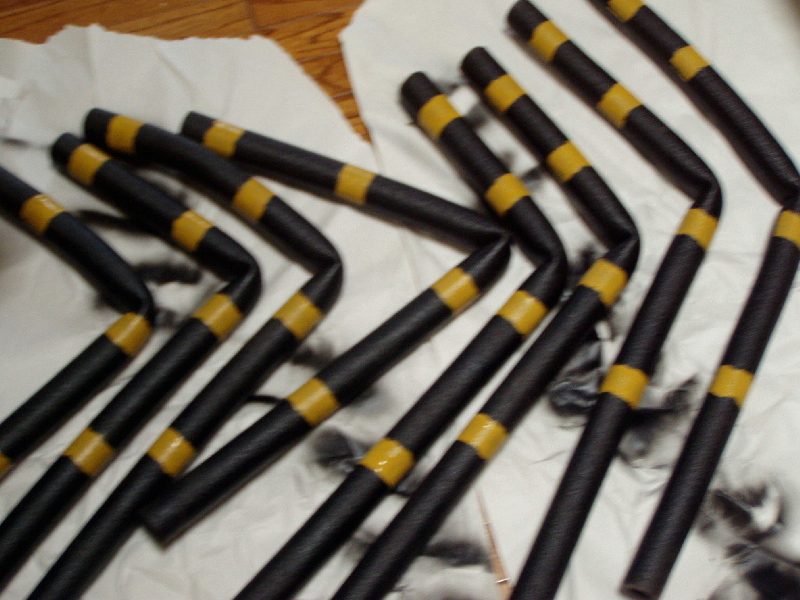
For the legs I used foam insulation tubes. I found that they were easy to bend into shape, light enough to be easy to move, and they held the bends for the leg joint.
The foam, however, didn't want to hold the paint so I sanded the foam to roughen it up a little and then applied black spray paint to get the desired coloration. The orange stripes were added after the first coat dried. |
|
|
|
Adding Texture
Once I got the spider painted black I wanted to add a little texture to the spider. This helped to keep the spider from looking too shiny.
I used dried coffee grinds and mixed them into the black tempra paint. This allowed a rough texture for the body of my spider, and took away the smooth balloon shape that the spider had originally. |
Final Touches
Almost Done!!!!
All that is left now is for you to finalize your creation! Finish any painting that is required and get ready to seal the spider's fate.
Using a waterproof sealer (available at any hardware store, normally in the paint section) generously coat the spider two times! Make sure that you coat the joints extra well to prevent leaks.
Let Dry and admire your work! |
|
|
|
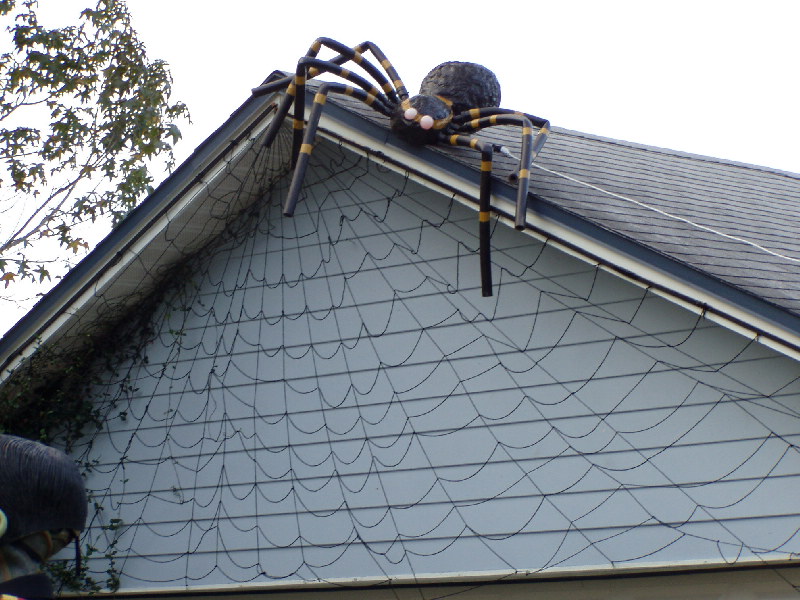
Let Others Admire Your Work
Once everything is dry it is time to find a place for your spider. I would suggest a roof, tree, or anyplace that will scare the ghouls! |
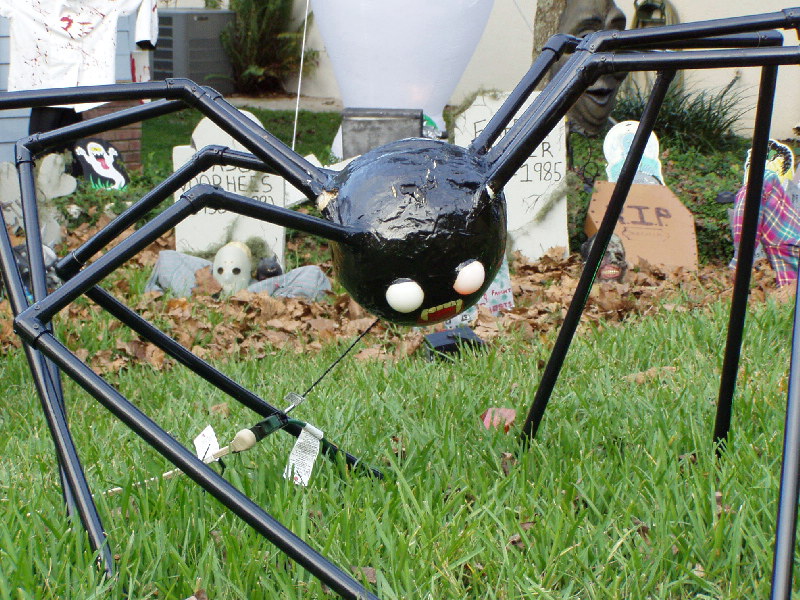
Small Variation
Only have one balloon? Have NO FEAR! Simply close the back of the balloon (AFTER putting the legs and eyes in)!
Then instead of foam legs use small PVC pipes for better support. The PVC will need to be sanded before the paint will stick to the pipes. Then paint on an evil face, and begin positioning the spider in the yard! |
|